Recipe | How to Make a Garden Focaccia
STORIES

Ceri Jones, Food Educator
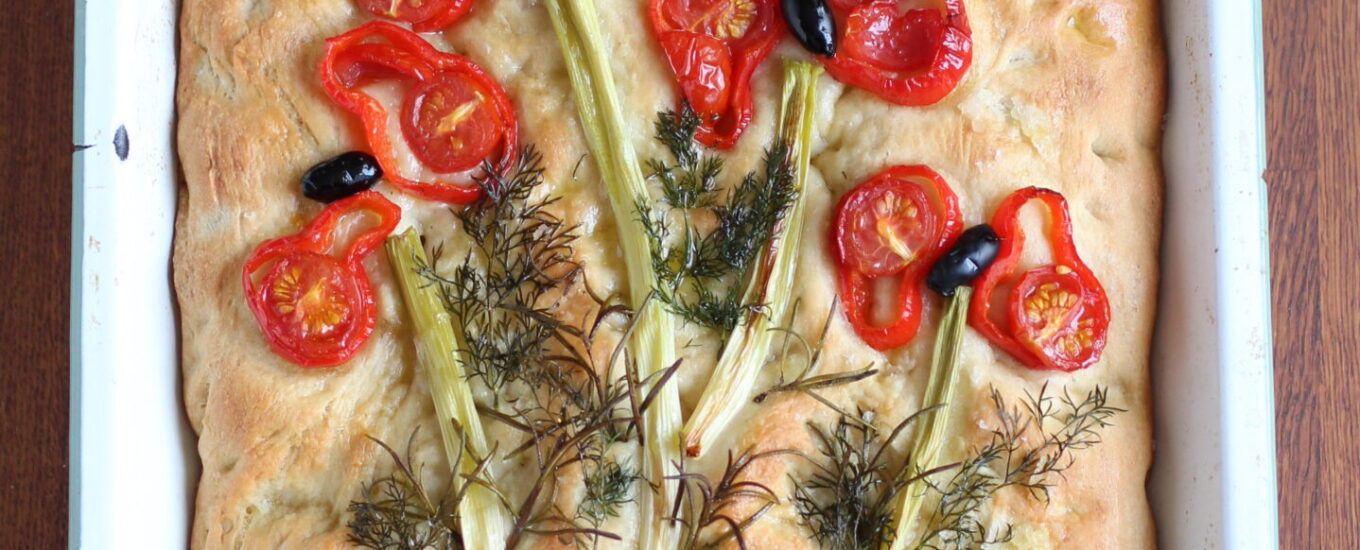
A trend to emerge in recent years is the art of decorating the top of a homemade focaccia bread to look like a flower, or a garden of flowers. As a museum all about gardening, with our own food learning programme I don’t know why we haven’t made our own sooner.
If you have your own tried and tested focaccia recipe then feel free to use that one as the base or have a go at ours written out below. When it comes to decorating your foccacia you can make it as simple or artistic as you dare. Herbs, sliced vegetables, olives and seeds are all excellent toppings to sow in your bread garden – just make sure they’re the kind of toppings that will taste good on our favourite Italian olive oil drenched bread. Anything delicate like herbs will darken quite a lot in the oven, there’s no getting round this, but I still think they’re worth adding. If you’re a novice at making art from vegetables (yes, me too), then I have a couple of tips. Firstly, find some botanical art to copy, and secondly lay out your garden design on a chopping board before adding to the top of the bread, as you will want to work quite quickly once the dough has had its second rise and is ready for the oven.
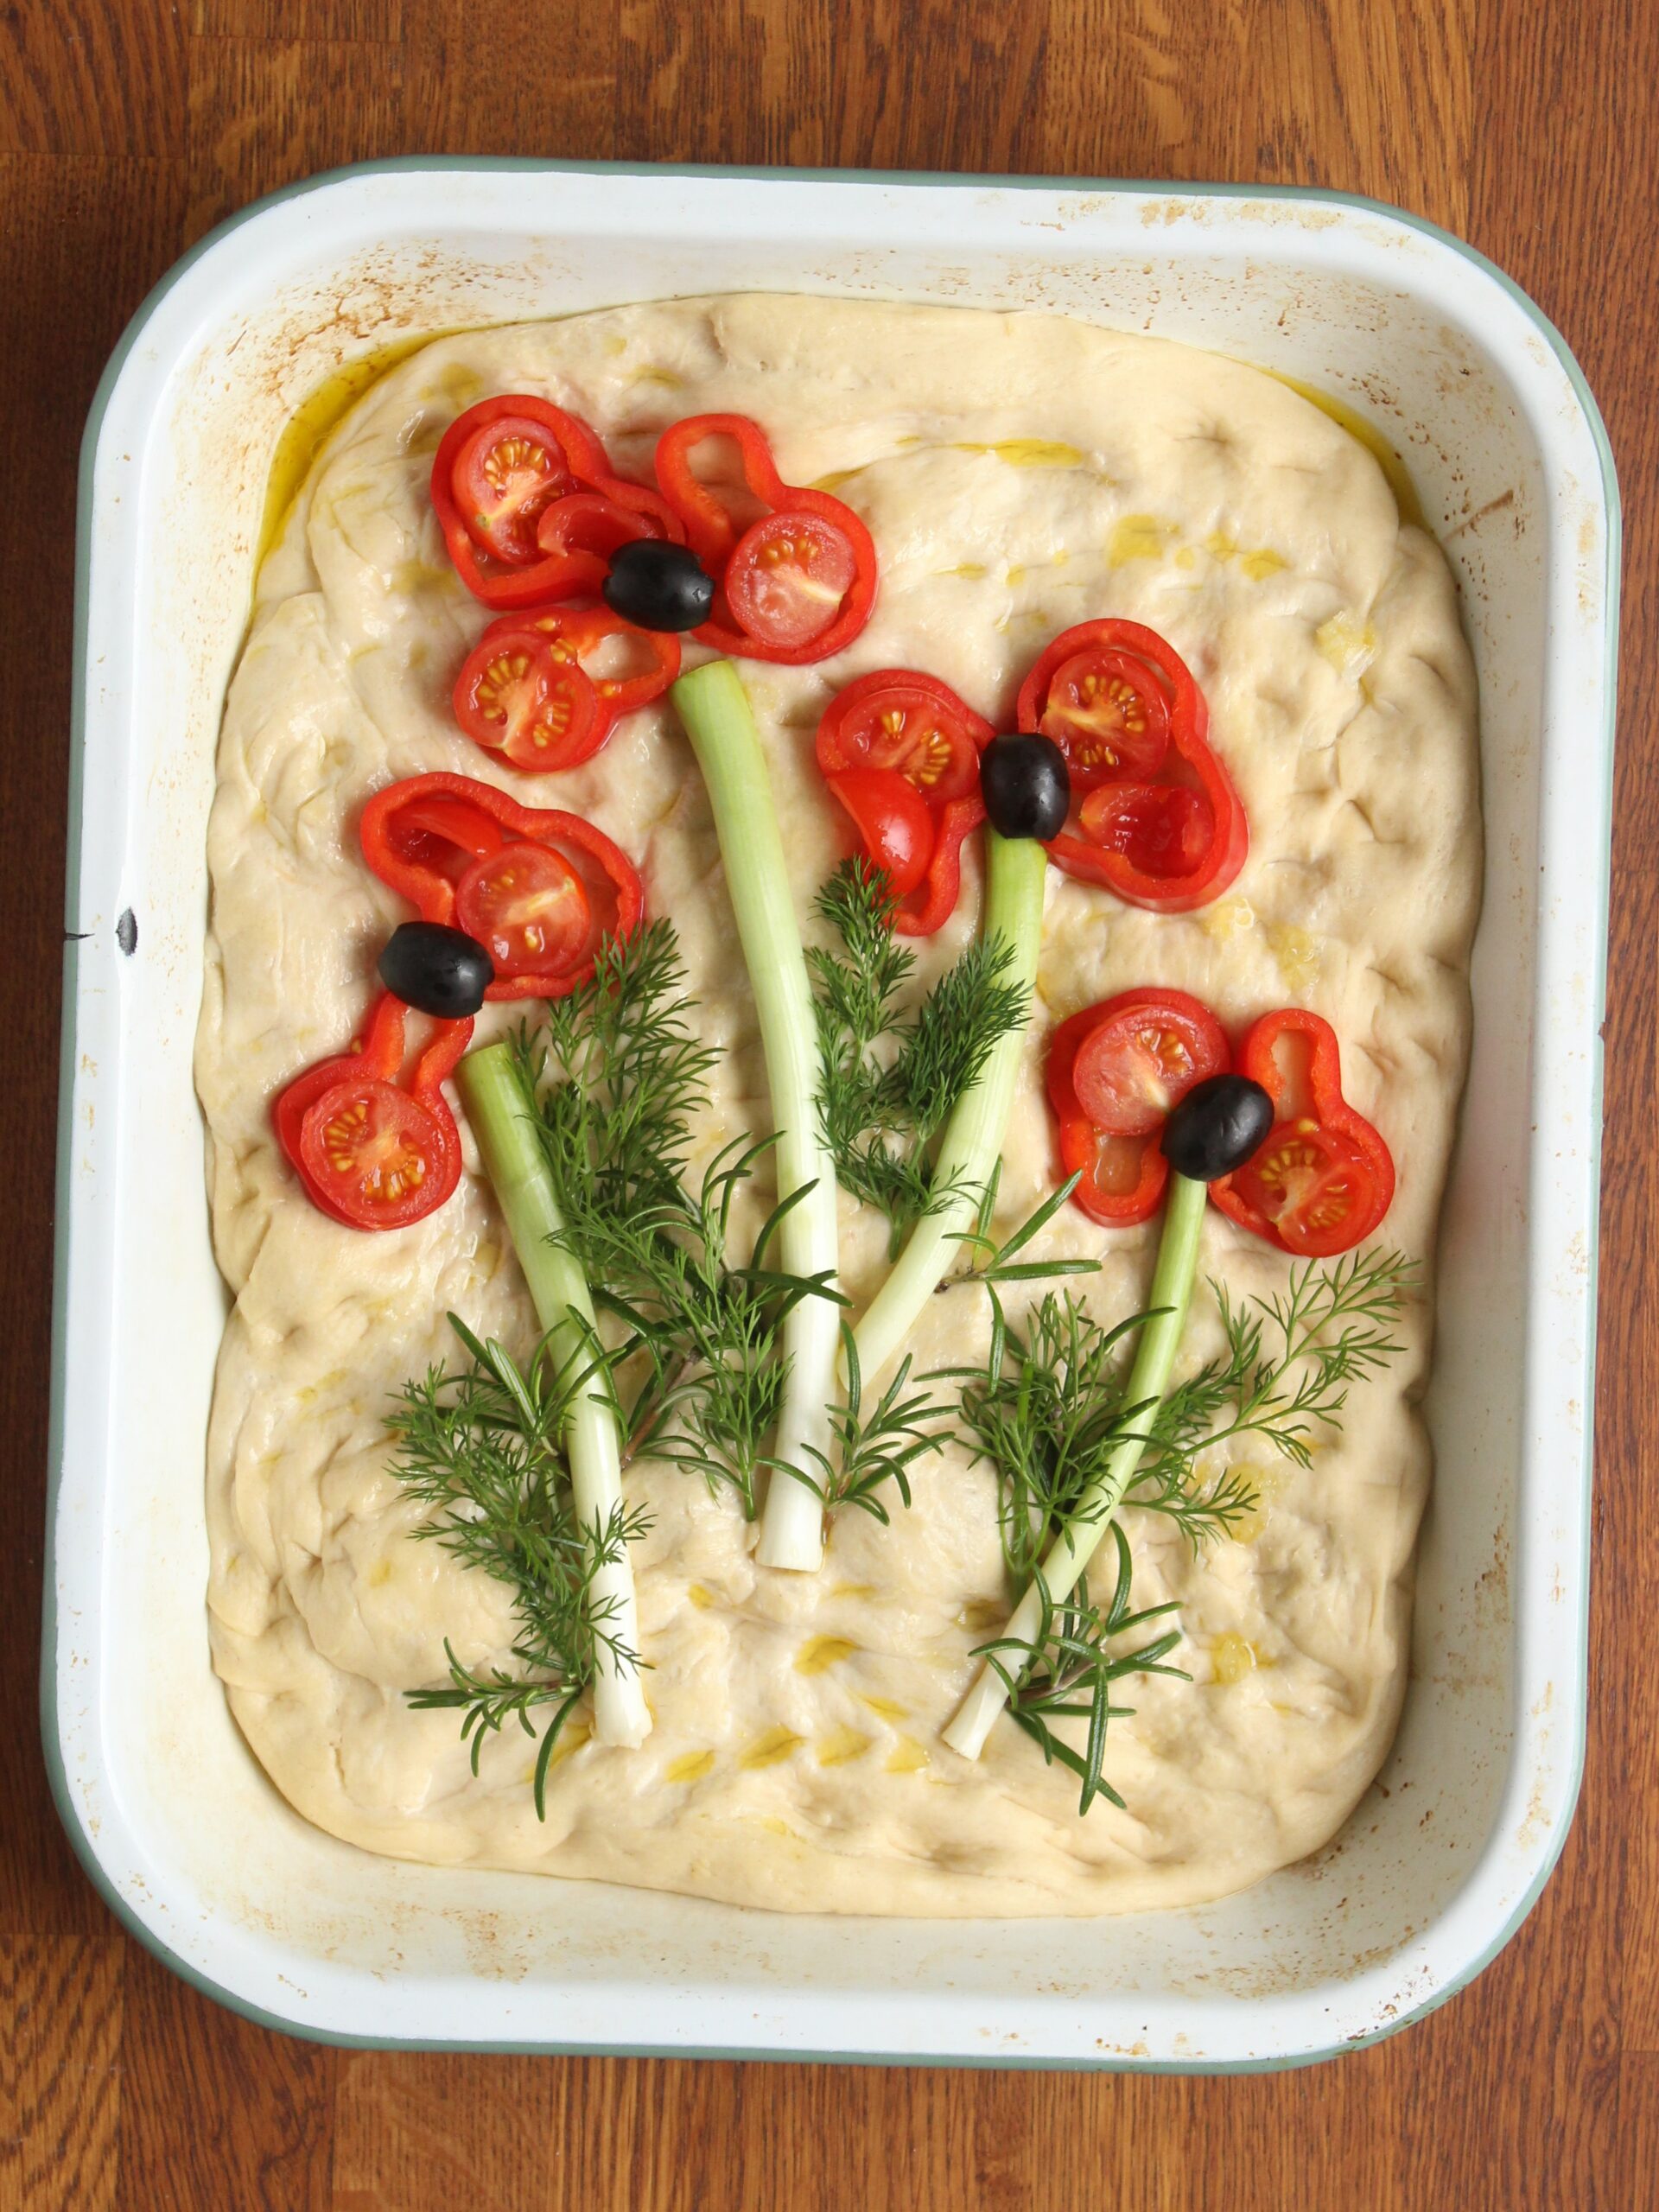
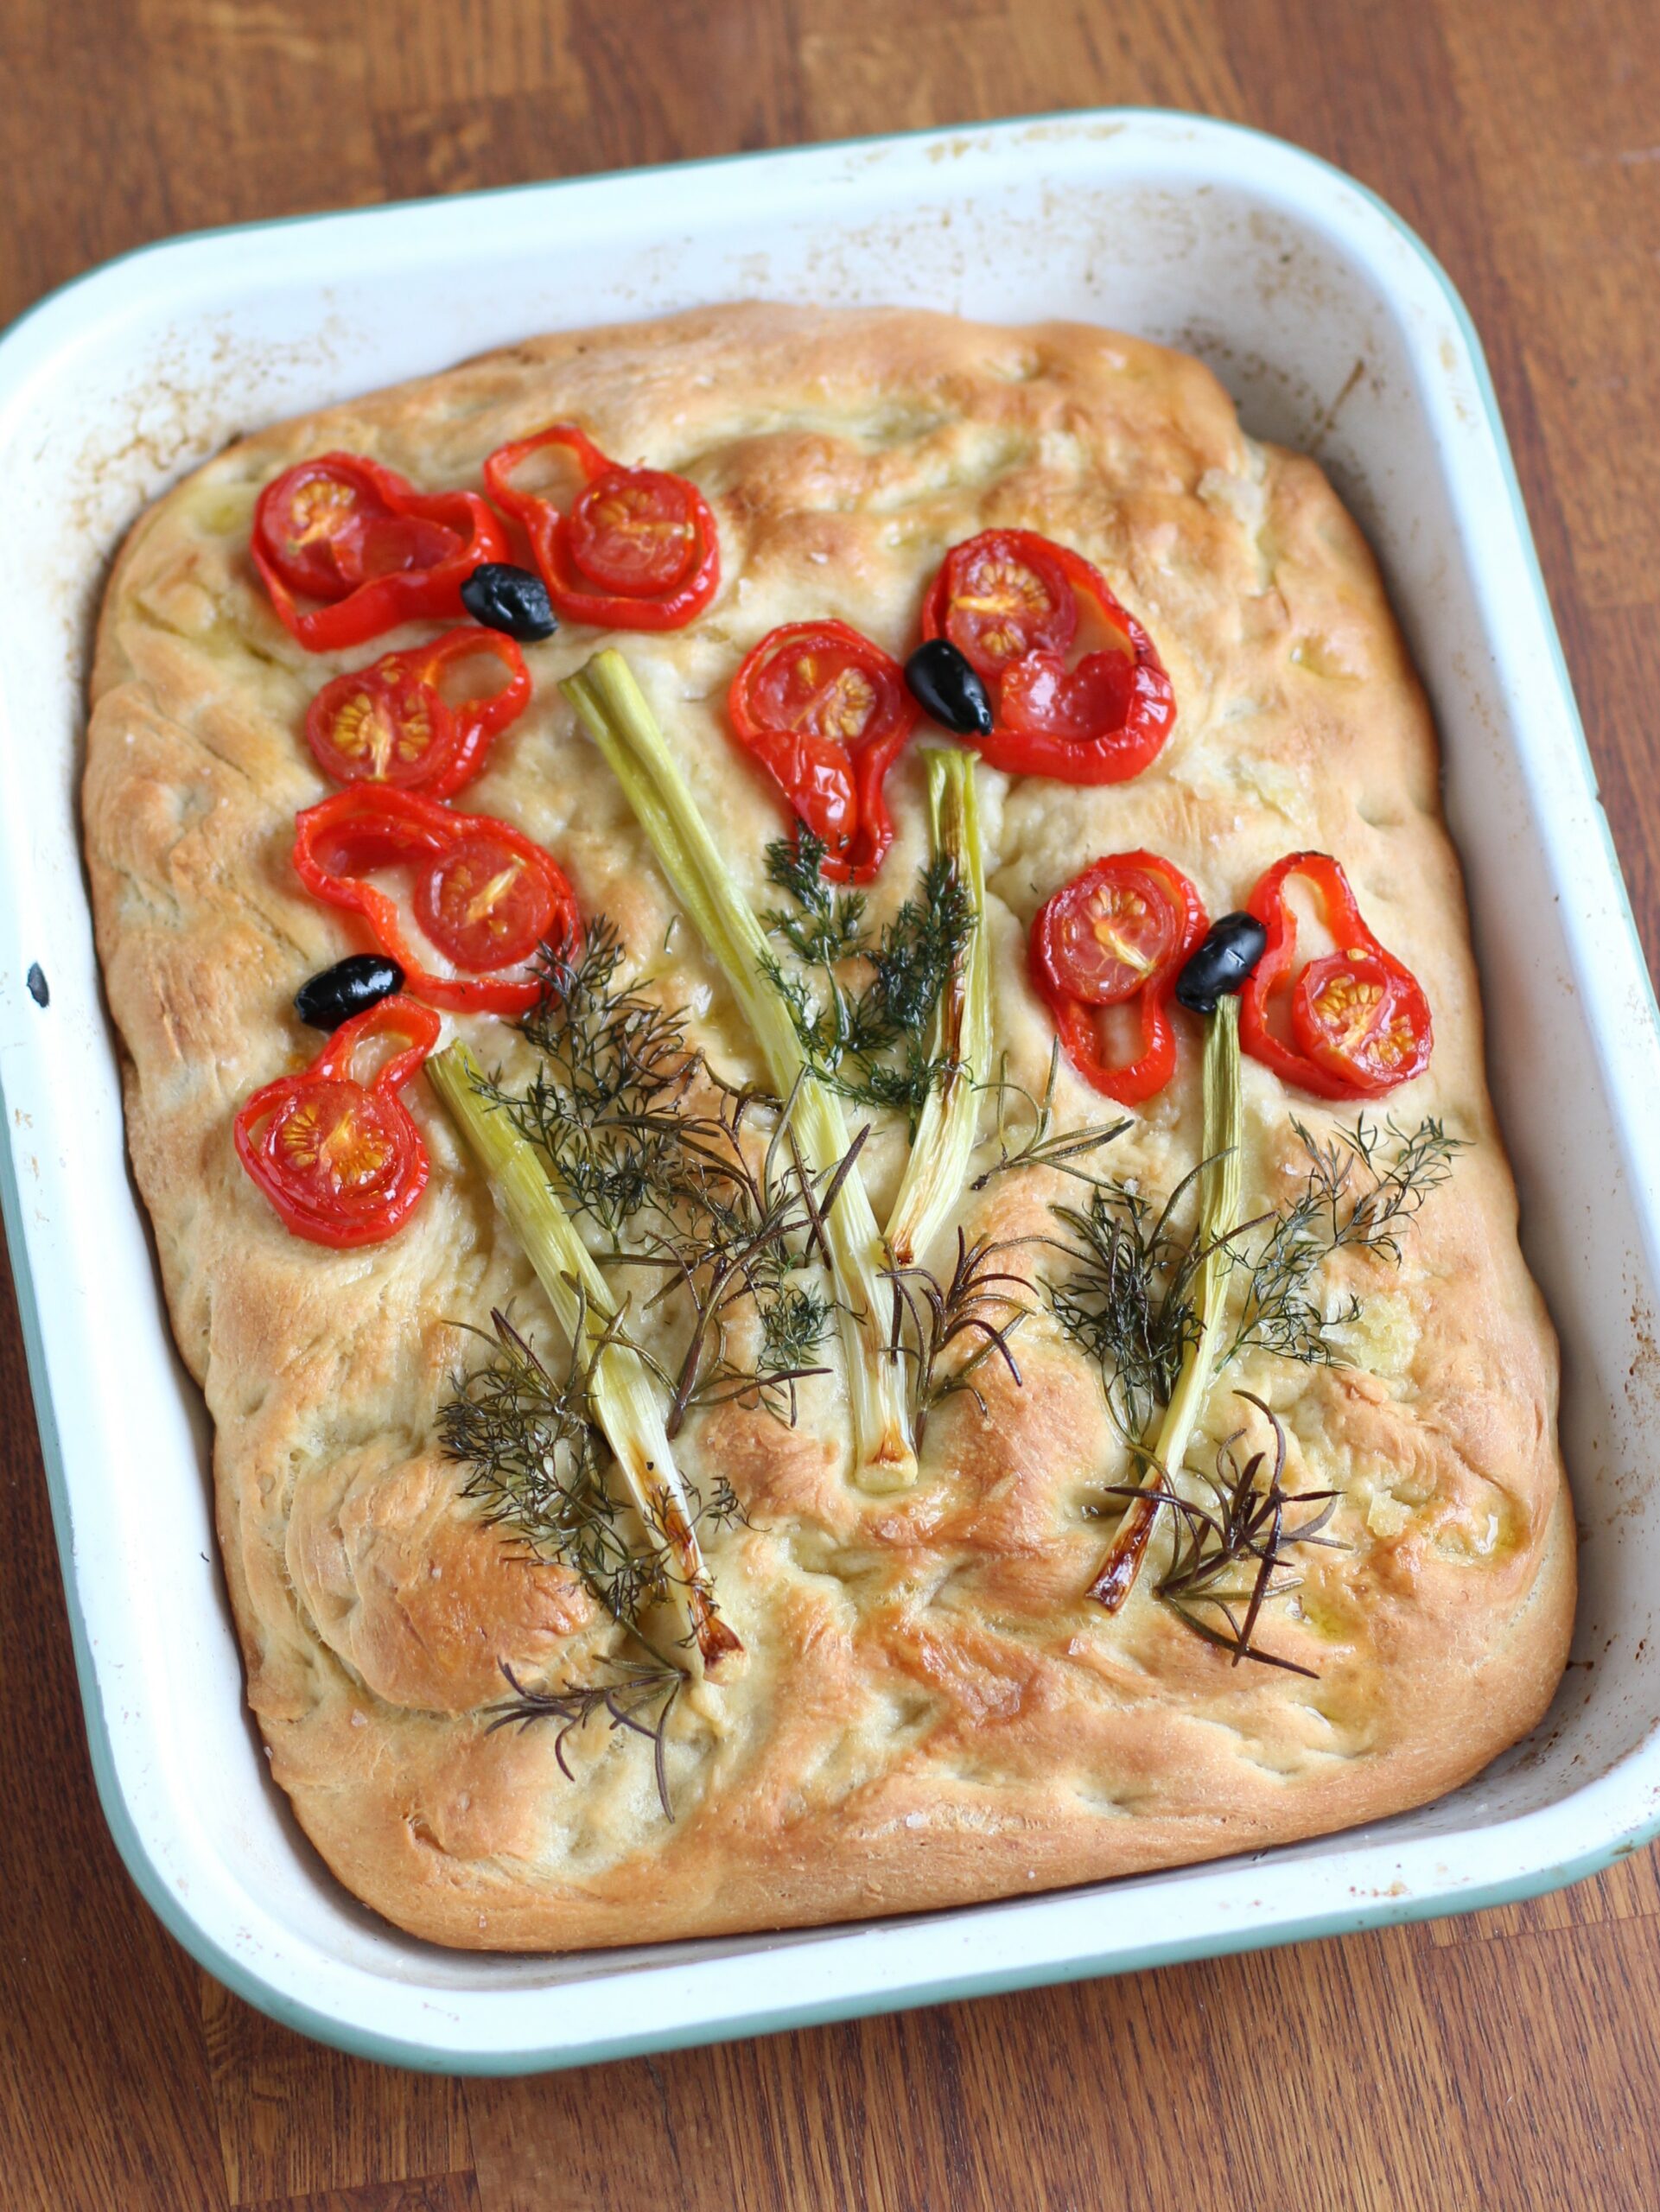
For my focaccia I sought inspiration from our current The Botanical World of Raymond Booth exhibition, using a painting of red poppies as my guide.I opted for thinly sliced Romano pepper for the petals, halved and quartered cherry tomatoes to fill in the gaps, black olives for the centres, spring onions for the stems and then rosemary and dill for the leaves. My bonus tip on working with tomatoes is once sliced to let them drain on kitchen towel before adding to bread to drain off some of the excess liquid inside – no one wants a soggy focaccia!
The focaccia garden will always look better before it goes in the oven, but I can guarantee it will taste better afterwards. If you were one of the millions of Brits who jumped on the banana bread or sourdough making trend during lockdown, then perhaps its time to try the focaccia garden next? Who knew you could have so much creative fun with a loaf of bread?

Garden Focaccia before it hit the oven
Garden Focaccia Recipe
Makes 1 loaf – which serves 6-8 as a decent portion to go with for soup for lunch.
You will need a 24cm x 30cm baking tray
Ingredients
500g strong white bread flour, plus a little extra for dusting
7g (1 sachet) dried fast action yeast
300-400mls lukewarm water
Approx. 5 tablespoons extra-virgin olive oil
Sea salt, we prefer flaked
Plus your choice of toppings
- Place the flour into a large mixing bowl, add in the yeast and 1 teaspoon salt and stir together. Make a well in the centre of the flour, add 2 tablespoons olive oil and gradually add the water (don’t add it all in to start with) mixing it together with a wooden spoon and then your hands, until a sticky dough forms. If too dry, add a little more of the water.
- Dust worktops with flour, then transfer the dough onto the worktop. Knead for 5-10 minutes. The dough will be quite sticky to work with at first, but don’t be tempted to add more flour. Use a dough scraper to help keep moving it as you knead. The dough will be ready when it its less sticky, and feels bouncy, smooth.
- Transfer the dough to a clean bowl drizzled with a little olive oil, cover with a tea towel and set aside to prove for 1 hour – by which time the size should have doubled. Prepare a 24cm x 30cm baking tray by generously oiling the base and sides.
- When the dough has finished its first prove, tip it out onto the work surface and knock it back. Transfer it to the baking tin and push it out into a rectangle to fit the tin. Cover with a tea towel again and set aside to prove for a further 35-45 minutes.
- During this second prove prepare the ingredients for the garden focaccia topping. I recommend laying out the design on a chopping board first. Pre-heat the oven to 220°C / 200°C (fan).
- When the dough has finished its second prove using fingers gently poke the dough all over with to make dimples. Mix together 1 tablespoon olive oil 1 tablespoon water and 1/2 teaspoon of flaked salt, and drizzle this all over the bread. Transfer the focaccia design to the top of the bread, gently pushing each item into the dough. Add a final light drizzle of olive oil and a little extra flaked salt on top of the veggies.
- Bake the bread in the oven for 20-25 minutes until golden all over, slightly firm on top and with a crust you can tap on the bottom. As soon as it comes out of the oven drizzle over a little more olive oil to make it shine. Best eaten on day of making.

Ceri's Garden Focaccia