Recipe | Carrot Shortbread Inspired by The Secret Garden
STORIES

Ceri Jones, Food Educator
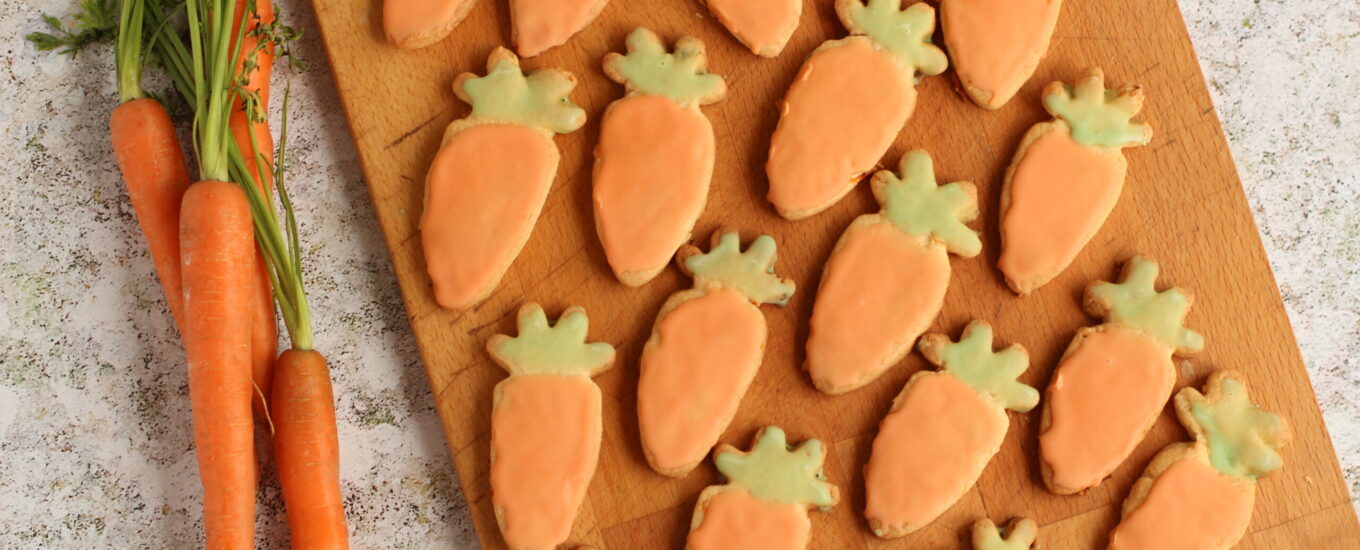
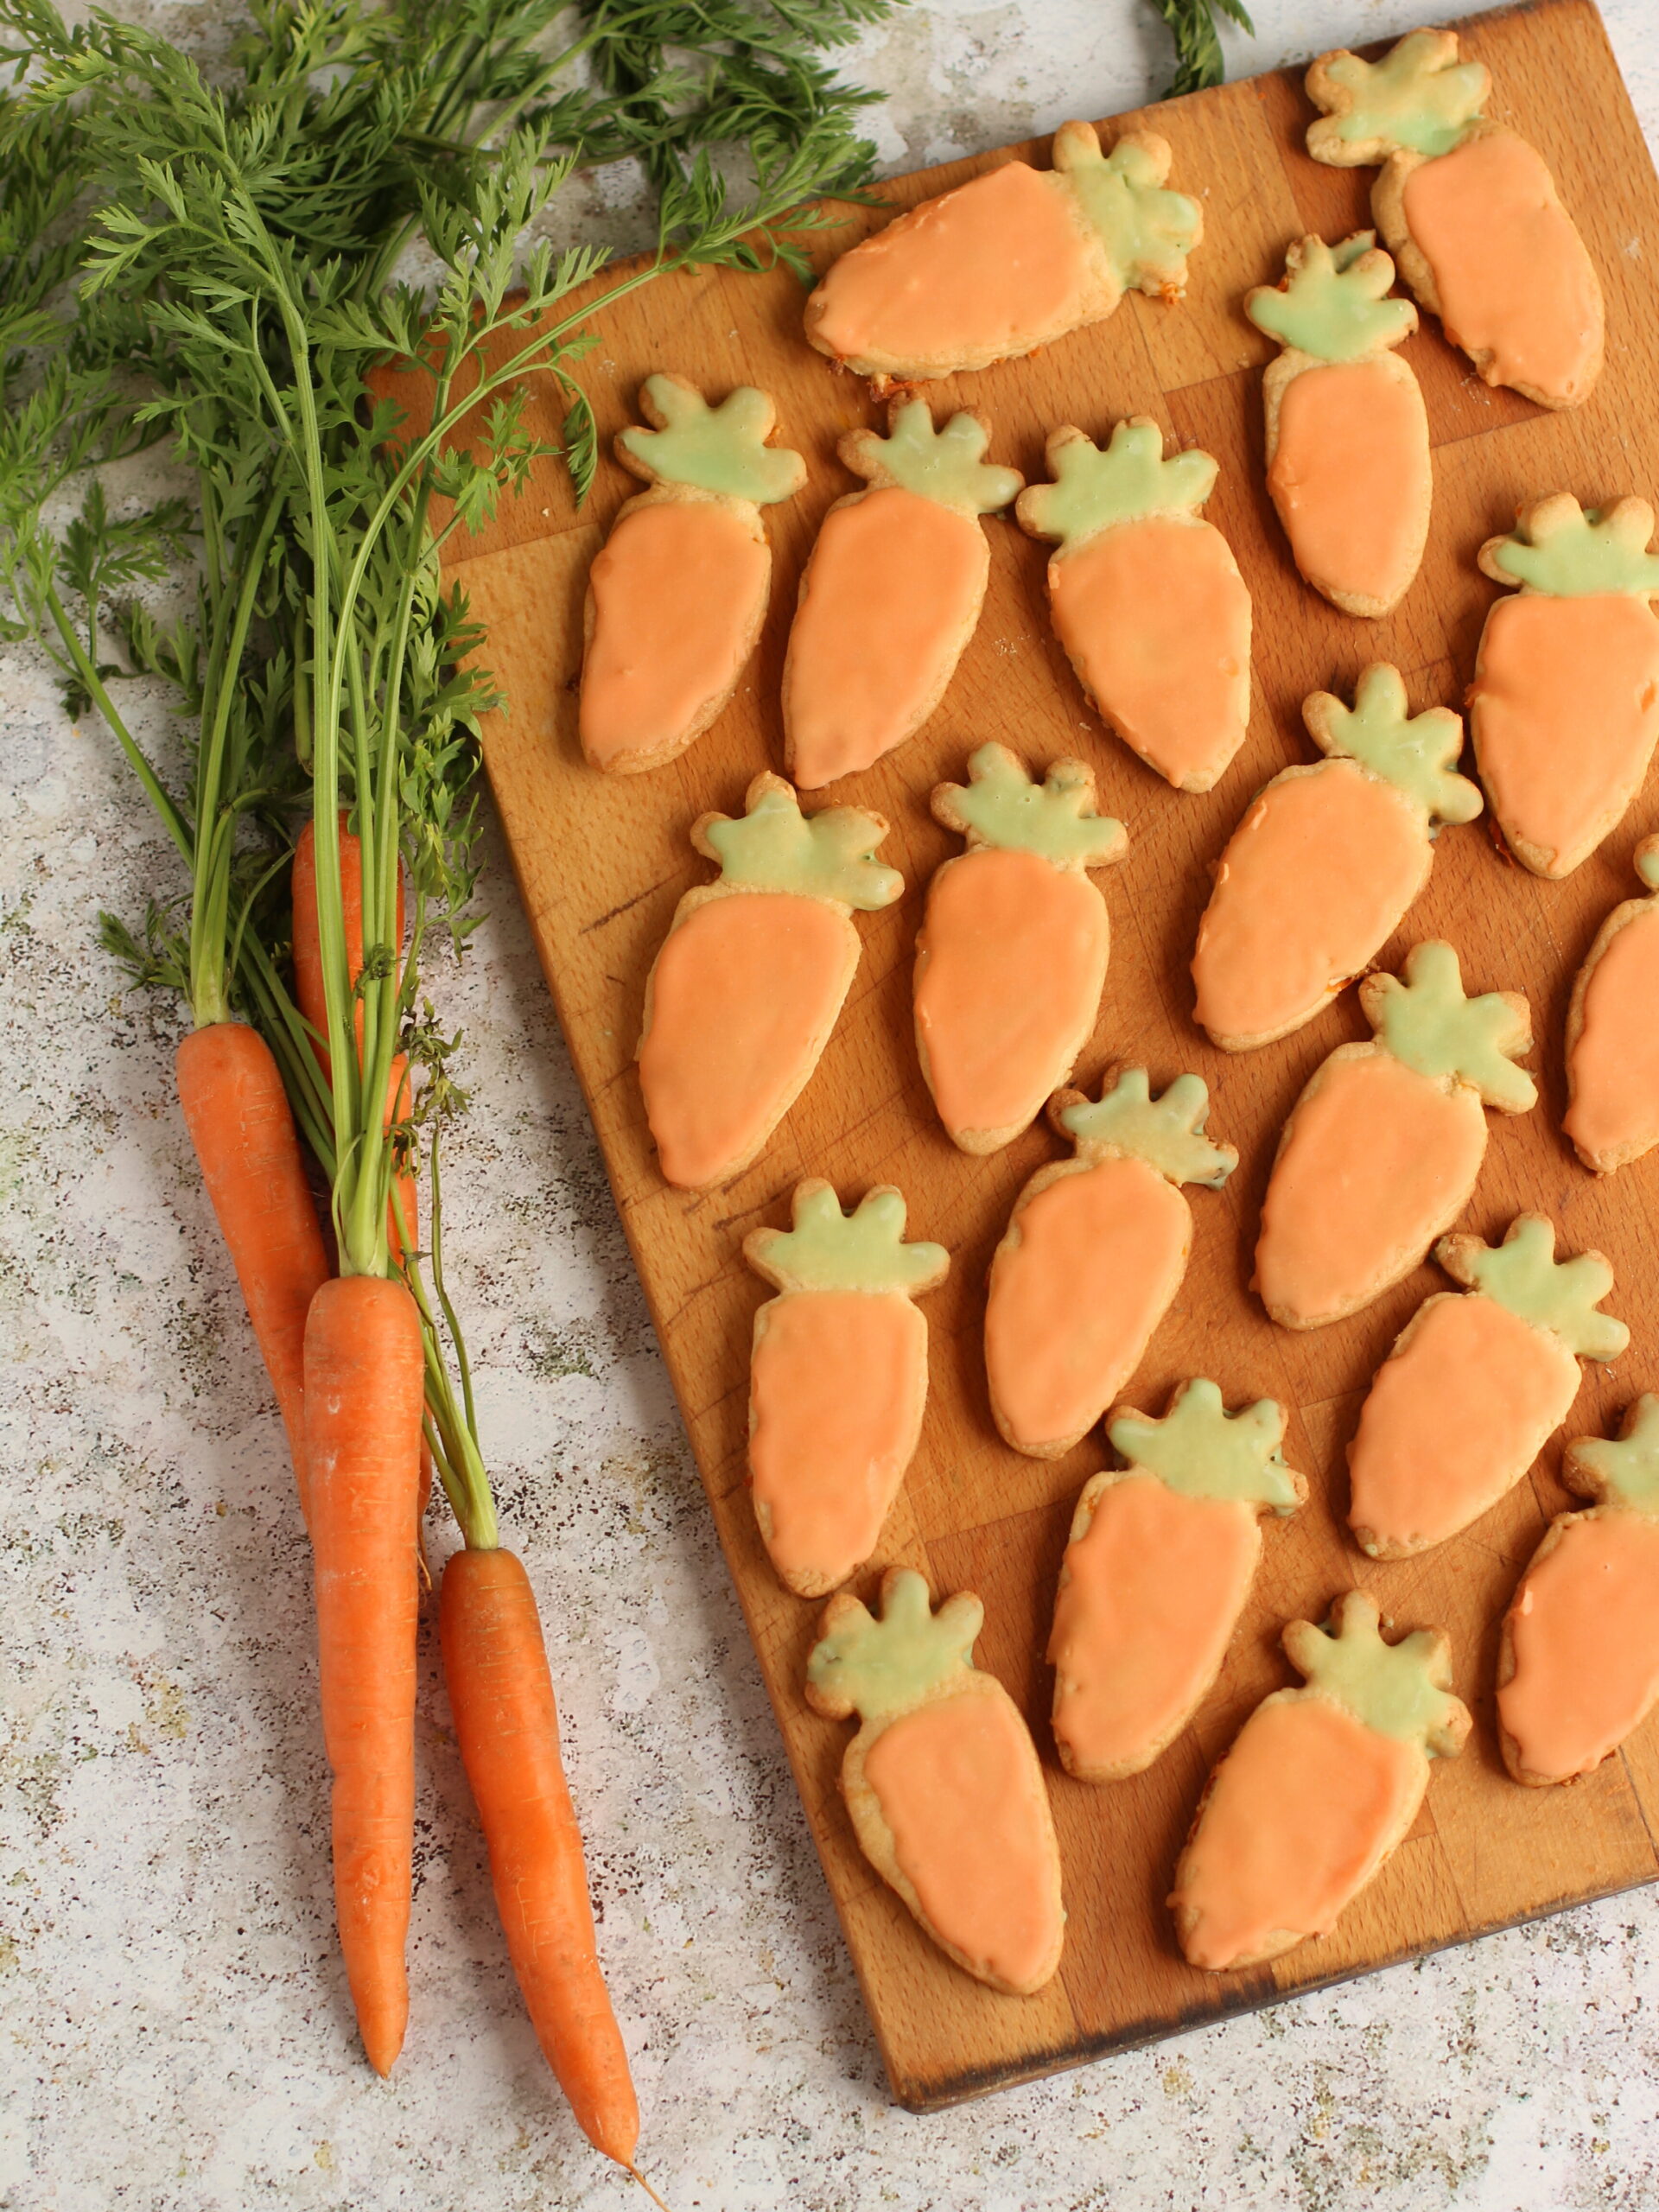
These shortbread were so popular at the opening party for our Secret Garden exhibition, we thought we’d share the recipe. A fun activity for children or adults, you can enjoy them as a simple shortbread, or have fun decorating them to look like a carrot.
On her way to find the Secret Garden, past the shrubbery, Mary Lennox finds herself in Misselthwaite’s Manor’s walled kitchen garden. Her curiosity exploring the kitchen gardens, through the green doors interlinking them leads her to discover the locked green door covered in ivy… When Mary first enters the kitchen garden It is during the winter, and fairly bare, she thinks ‘it might be nicer in summer’. The old man with a spade she meets in the kitchen garden, explains that there are a number of kitchen gardens, to explore as well as an orchard. But ‘there’s nowt to see’ (aside from walls, winter vegetables and glass frames).
Walled kitchen gardens were a feature of most Victorian large manor houses, where food was produced for eating in the house. The walls served to shelter the gardens from wind, were used to trail fruit trees and hid the gardens (and gardeners) from the main house. We don’t know for sure what should have been growing in Misselthwaite Manor’s kitchen gardens but would expect a range of beds containing root vegetables, cabbages, and herbs.
We have a hint about fruit though – later in the book when Mary is working in the secret garden with Dickon, they talk about the fruit trees that may eventually bloom in the wild space – apple and cherry blossoms, peach and plum trees in bloom against the walls.
We cook with a lot of vegetables in our Food Learning Programme at the Museum – and will be throughout the summer holidays – but here’s a chance to make a delicious biscuit that looks like, and is flavoured with, a vegetable!

Carrot Shortbread
Carrot Shortbread
There is no chilling required for this biscuit dough, and they shouldn’t rise too much, so a perfect carrot shape should be achievable. You can find a carrot shaped cookie cutter from most online baking retailers. If you don’t have any cutters an upturned glass is great for circle shaped cookies. You will need a couple of baking trays lined with greaseproof paper and a rolling pin. Makes approx. 44 x 10cm carrot biscuits.
Ingredients
220g butter, softened
200g caster sugar
50g grated carrot (half a medium carrot)
1 tsp orange extract
1 large egg
450g plain flour
Icing
150g icing sugar
Natural food colouring (you can mix red and yellow to make orange, and use green for the leaves)
Method
- Place the grated carrot in kitchen towel and squeeze over the sink to remove any excess water from the carrots. Set aside.
- Preheat the oven to 180˚C (fan)/200˚C.
- Cream together the butter and sugar with an electric whisk or wooden spoon. Add the grated carrot, egg and the orange extract and beat well. Add the flour and bring it together into a smooth pliable dough.
- Divide the dough into 2 portions. Working with one at a time lightly flour the worktop and your rolling pin. Roll it out to a few mm thick, then cut out your shapes and transfer to a lined baking tray. Repeat with the remaining dough, re-rolling all the scraps.
- Bake the biscuits in the oven for 8- 10 minutes until the edges are lightly golden brown.
- Allow to cool on the tray for 5 minutes before transferring to a wire rack to cool completely.
- Mix together your icing sugar with 3 or so tbsp water to get the right consistency for spreading on your biscuits. Divide into 2 batches – and colour one orange using yellow with a tiny bit of red, and the other green. Don’t use too much colouring as it can taste bitter. Have fun decorating!